SSD1325/7 OLED Display
ssd1325_spi Component

The ssd1325_spi display platform allows you to use
SSD1325 (datasheet,
Adafruit) displays with ESPHome. Note that this
component is for displays that are connected via the 4-Wire SPI bus.

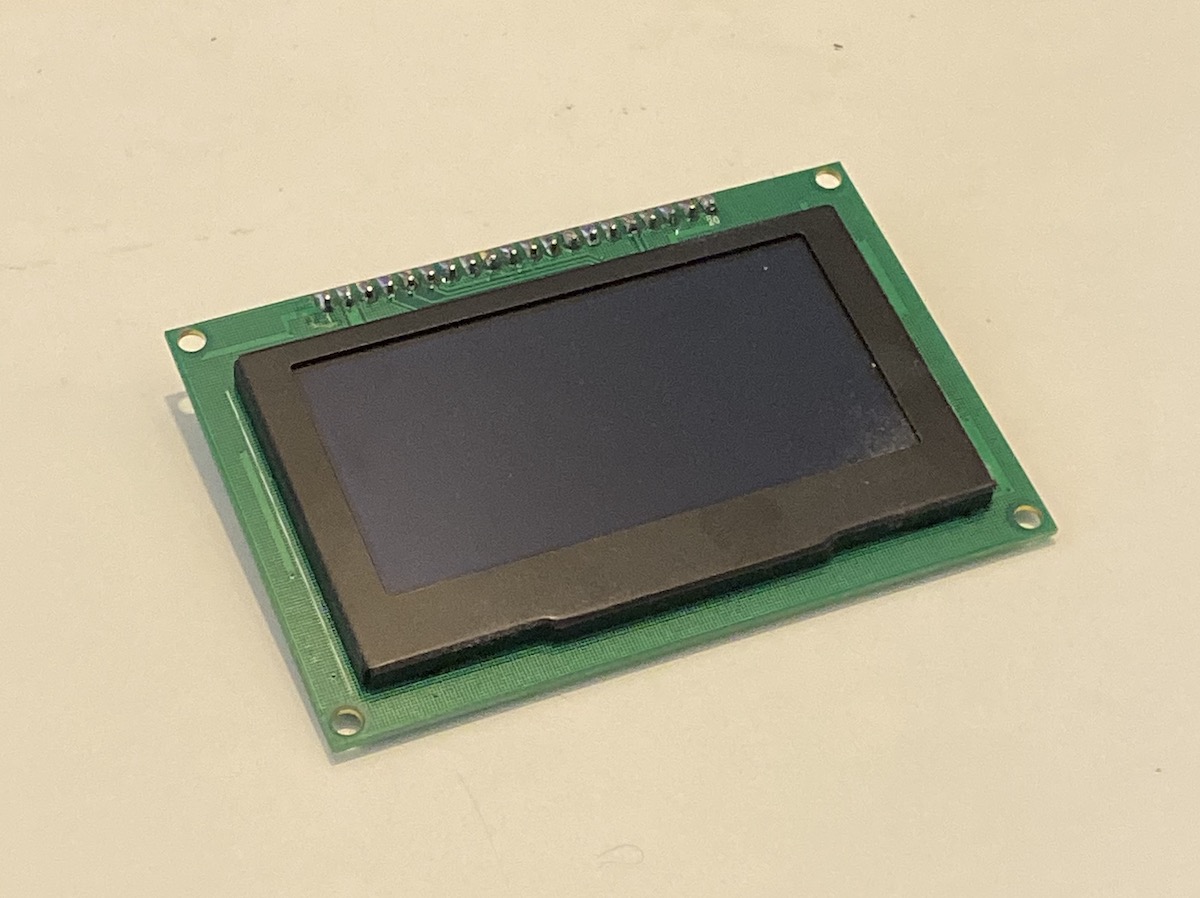
Connect CLK, DIN, CS, DC, and RST to pins on your ESP. For power, connect VCC to 3.3V and GND to GND. Note that two jumper resistors on the back of the display PCB may need to be moved to put the display into SPI mode. Adafruit has a guide that explains how to do this, if necessary.
# Example configuration entry
spi:
  clk_pin: D5
  mosi_pin: D7

display:
  - platform: ssd1325_spi
    model: "SSD1325 128x64"
    reset_pin: D0
    cs_pin: D8
    dc_pin: D1
    lambda: |-
      it.print(0, 0, id(font), "Hello World!");
Configuration variables:
model (Required): The model of the display. Options are:
SSD1325 128x32- SSD1325 with 128 columns and 32 rowsSSD1325 128x64SSD1325 96x16SSD1325 64x48
dc_pin (Required, Pin Schema): The DC pin.
reset_pin (Optional, Pin Schema): The RESET pin.
cs_pin (Optional, Pin Schema): The pin on the ESP that that the CS line is connected to. The CS line can be connected to GND if this is the only device on the SPI bus.
lambda (Optional, lambda): The lambda to use for rendering the content on the display. See Display Rendering Engine for more information.
update_interval (Optional, Time): The interval to re-draw the screen. Defaults to
5s.pages (Optional, list): Show pages instead of a single lambda. See Display Pages.
id (Optional, ID): Manually specify the ID used for code generation.
Configuration examples
To utilize the grayscale capabilities of this display module, add a color: section to your YAML configuration;
please see color for more details. As this is a grayscale display, it only uses the white color
element as shown below.
To use grayscale in your lambda:
color:
  - id: medium_gray
    white: 50%

...

display:
    ...
    lambda: |-
      it.rectangle(0,  0, it.get_width(), it.get_height(), id(medium_gray));
To bring in grayscale images:
image:
  - file: "image.jpg"
    id: my_image
    resize: 120x120
    type: GRAYSCALE

...

display:
    ...
    lambda: |-
      it.image(0, 0, id(my_image));
In this case, the image will be converted to grayscale (regardless of its original format) and rendered as such when drawn on the display. Note that the original image may require some adjustment as not all images immediately convert nicely to the 4-bit grayscale format this display supports.
Note that if type: GRAYSCALE is omitted, the image will render as a binary image (no grayscale); in this
case, a color attribute may be passed to the image() method as follows:
image:
  - file: "image.jpg"
    id: my_image
    resize: 120x120

...

display:
    ...
    lambda: |-
      it.image(0, 0, id(medium_gray), id(my_image));
This will draw the complete image with the given shade of gray.
To create a new color as needed in code:
display:
    ...
    lambda: |-
      float white_intensity = 0.5;
      Color variable_gray(0, 0, 0, white_intensity);
      it.rectangle(0,  0, it.get_width(), it.get_height(), variable_gray);
The last argument of the Color constructor is the intensity of the white element; it is a percentage
(value of range 0 to 1). It may be defined by another variable so it is adjustable in code.